Introduction
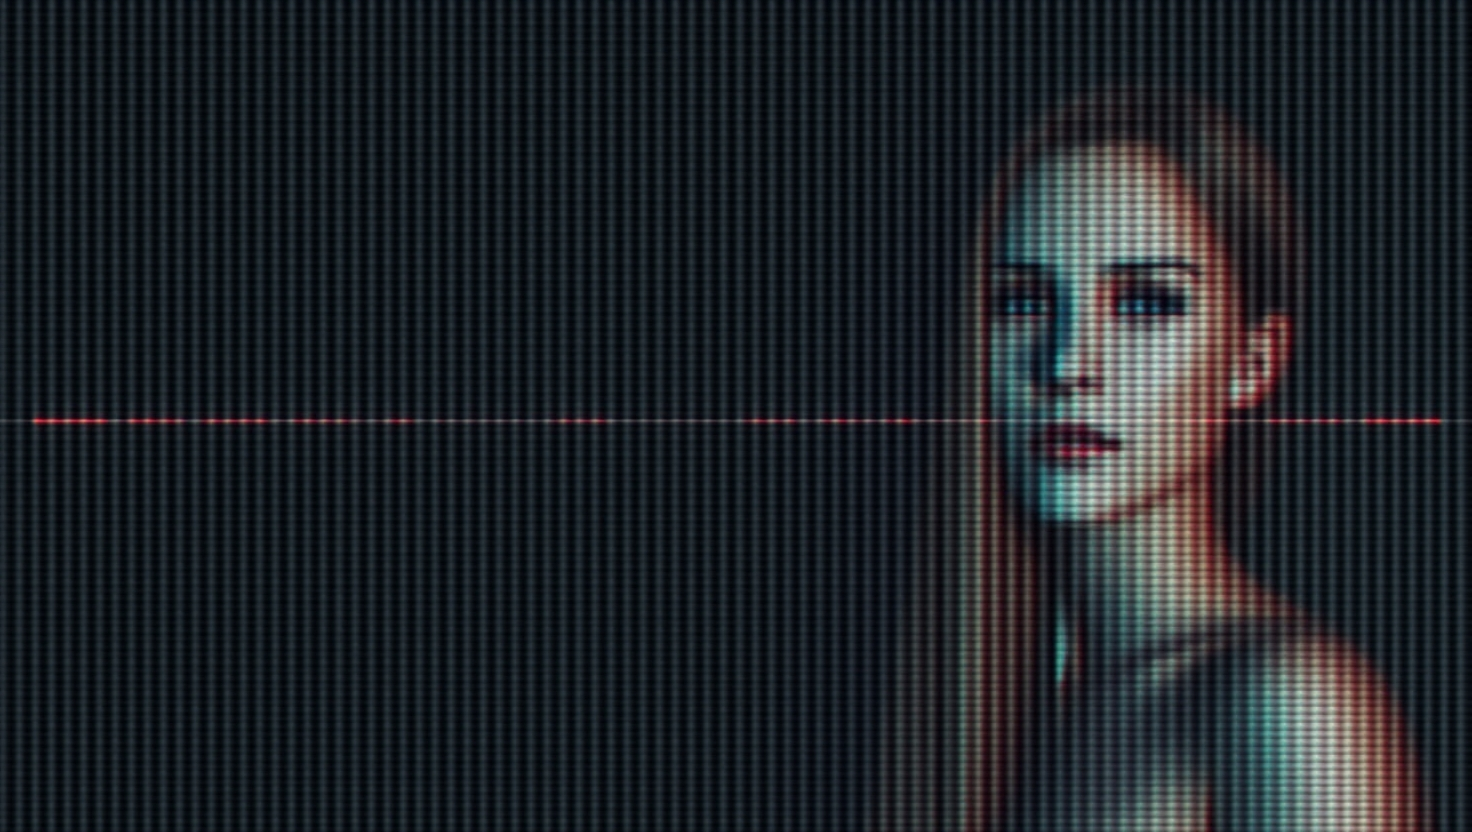
By following this guide, you’ll learn how to make glitch effects in DaVinci Resolve that captivate your audience and elevate your projects. In the ever-evolving world of video editing, glitch effects have become a go-to technique for adding a futuristic, chaotic, or nostalgic vibe to footage. These effects simulate digital errors, such as pixelation, color shifts, or static, making them perfect for music videos, sci-fi trailers, or experimental films. DaVinci Resolve, a leading video editing software, offers versatile tools to create stunning glitch effects, whether you’re crafting them from scratch or using pre-made resources. This comprehensive guide explores how to create glitch effects in DaVinci Resolve using three methods: manual creation on the Fusion page, applying pre-made templates, and leveraging third-party plugins.
What is a Glitch Effect and Why Use It?
- Manual creation using the Fusion page for full control and customization.
- Pre-made templates for quick, professional results with minimal effort.
- Plugins for advanced effects with unique features and flexibility.
How to Create a Glitch Effect Manually in DaVinci Resolve.
Step 1: Import Your Video Clip
Begin by launching DaVinci Resolve and navigating to the Media page. Import your video clip into the media pool by clicking “Import Media” and selecting your file. Next, drag the clip to the first video track on the timeline in the Edit page. Trim or cut the clip to focus on the section where you want the glitch effect applied. This ensures your footage is ready for further processing.
Step 2: Switch to the Fusion Page
Click the Fusion icon at the bottom of the screen to enter the Fusion page. This page features a node-based interface, where each node represents a tool or effect. You’ll see the MediaIn1 node, which corresponds to your video clip. To preview the clip, press ‘2’ to display it in the right viewer or ‘1’ for the left viewer. Familiarize yourself with the node editor, as it’s the core of creating custom effects.
Step 3: Add a Displace Node
The Displace node is key to creating the distortion characteristic of glitch effects. Select the MediaIn1 node, then press Shift+Space to open the node library. Search for “Displace” and click “Add.” The Displace node will appear between MediaIn1 and MediaOut1, with inputs for Background, Foreground, and Mask. This node will distort your footage based on a secondary image or noise source.
Step 4: Add a Noise Source for Distortion
- Option 1: Use an Existing Noise Image
- Import a noise image (e.g., static or glitch patterns) into the media pool.
- Drag the noise image to the second video track on the timeline, aligning it with your video clip.
- In the Fusion page, connect the output of MediaIn2 (the noise image) to the Foreground input of the Displace node.
- Adjust settings in the Inspector panel, such as displacement intensity and direction, to control the glitch effect’s appearance.
- Option 2: Create Noise with the Fast Noise Node
- Select the Displace node, press Shift+Space, and search for “Fast Noise.”
- Click “Add” to insert the Fast Noise node.
- Connect the output of the Fast Noise node to the Foreground input of the Displace node.
- In the Inspector, tweak parameters like color, contrast, detail, seed, and animation speed to customize the noise pattern.
Step 5: Add Color Distortion and Flickering
- Add a Color Corrector Node
- Press Shift+Space, search for “Color Corrector,” and add it to your node chain.
- Adjust parameters like hue, saturation, gain, and offset to introduce color aberrations.
- Use keyframes to animate these changes over time, creating a flickering or unstable effect.
- Add a Brightness/Contrast Node
- Search for “Brightness/Contrast” in the node library and add it.
- Modify brightness and contrast settings to create flickering.
- Add keyframes to animate these parameters, enhancing the glitch’s realism.
Step 6: Preview and Export
To review your glitch effect, click the Edit icon to return to the Edit page. Play the timeline to ensure the effect looks as intended. If adjustments are needed, return to the Fusion page to tweak settings. Once satisfied, navigate to the Deliver page, configure your export settings, and render your video. This manual method allows for endless customization, making it ideal for editors who want a unique glitch effect.
| Step | Action | Details/Notes |
| 1 | Import video clip | Import to media pool, drag to first video track, trim as needed. |
| 2 | Go to Fusion page | Click Fusion icon, preview video using MediaIn1 node (press 2 or 1). |
| 3 | Add Displace node | Select MediaIn1, press Shift+Space, search “Displace,” click Add. |
| 4 | Use noise image | Import noise image, connect MediaIn2 to Displace Foreground, adjust settings. |
| 5 | Create noise | Add Fast Noise node, connect to Displace Foreground, customize in Inspector. |
| 6 | Add color/flicker | Use Color Corrector and Brightness/Contrast nodes, animate with keyframes. |
| 7 | Preview and export | Preview on Edit page, render from Deliver page. |
How to Use Pre-Made Glitch Effect Templates in DaVinci Resolve
For editors seeking a faster solution, pre-made glitch effect templates offer professional results with minimal effort. These templates are designed to be user-friendly and customizable, making them ideal for beginners or projects with tight deadlines.
Step 1: Download a Template
Explore platforms like Motion Array, Envato Elements, or Allavio to find glitch effect templates. These platforms offer templates for glitch titles, transitions, or full-screen effects. Download a template in .drfx format, ensuring it’s compatible with your version of DaVinci Resolve (e.g., version 19 or above for some templates).
Step 2: Import the Template
In DaVinci Resolve, go to the Edit page and open the Effects Library. Click the “+” icon to import a new effect or template. Navigate to the downloaded .drfx file and select it. The template will appear in your Effects Library, ready to be applied to your project.
Step 3: Apply the Template
Drag the template from the Effects Library onto your video clip or text layer on the timeline. The glitch effect will be applied instantly, transforming your footage or titles with a stylized look. Some templates, like Glitch Titles, include multiple animations for added variety.
Step 4: Customize the Template
Most templates offer adjustable parameters in the Inspector panel. You can modify settings like intensity, duration, color, or animation speed to tailor the effect to your project. For text-based templates, you can also edit the text content, font, or positioning to match your creative vision. This flexibility ensures that even pre-made templates can feel unique.
| Template Information | Details |
| Name | Glitch Titles |
| Platform | DaVinci Resolve |
| Creator | MA |
| Cost | Free |
| Compatibility | Resolve 15 and above |
| Resolution | 1920×1080 (HD) |
| File Size | 14.8MB |
| Plug-Ins Required | None |
| Number of Animations | 5 unique title animations |
How to Use Glitch Effect Plugins in DaVinci Resolve
Plugins provide advanced glitch effects with greater control and unique features. One notable example is the SuperGlitch plugin, a free tool created by Akascape, designed specifically for DaVinci Resolve.
Step 1: Download the Plugin
Visit the download link for SuperGlitch to obtain the plugin file. This plugin is free and offers keyframeable effects, making it a powerful addition to your editing toolkit.
Step 2: Install the Plugin
- On Mac: Locate the fuse files folder by clicking the “…” in Fusion effects and selecting “Show Folder.” Place the plugin file in this directory.
- On Windows: Follow the installation instructions provided with the plugin, typically involving copying the file to the appropriate DaVinci Resolve directory.
- Ensure your DaVinci Resolve version is compatible (e.g., version 16 or above for some plugins).
Step 3: Use the Plugin
In the Fusion page, add the SuperGlitch plugin like any other effect. For optimal results, use a merge node with the glitch node, as recommended by the creator. Connect the plugin directly if the effect appears as an overlay. Adjust parameters in the Inspector panel to customize the glitch effect, such as intensity, speed, or distortion type. If you encounter issues like green blinks, check the console output in the Workspace Tab > Console and consider switching GPU processing to OpenCL.
| Plugin Information | Details |
| Name | SuperGlitch |
| Creator | Akascape |
| Type | Free DaVinci Resolve Plugin |
| Key Features | Keyframeable, CPU/GPU rendering, faster than macros |
| Installation | Place in fuse files folder (Mac); follow instructions (Windows) |
| Troubleshooting | Check console for errors, switch to OpenCL for driver issues |
Tips and Tricks for Customizing Glitch Effects
- Experiment with Noise Sources: Try different noise images or adjust Fast Noise node settings to create unique distortion patterns.
- Use Keyframe Animation: Animate parameters like displacement, color, or brightness to add dynamism and realism to the glitch.
- Layer Multiple Effects: Combine glitch effects with other tools, such as blurs or chromatic aberrations, for a more complex look.
- Match the Glitch to Your Content: Adjust the intensity and style to complement your video’s mood, whether it’s intense and chaotic or subtle and nostalgic.
- Test on Different Footage: Glitch effects can vary depending on the footage, so test them on your specific clips to ensure the desired impact.
Conclusion
Creating glitch effects in DaVinci Resolve is an exciting way to enhance your video projects, whether you’re aiming for a futuristic vibe or a retro aesthetic. By using the Fusion page for manual creation, applying pre-made templates, or leveraging plugins like SuperGlitch, you can achieve professional results tailored to your vision. Each method offers unique advantages, from full customization to time-saving simplicity.Ready to get started? Download a template from Motion Array or try the SuperGlitch plugin today, and take your video editing to the next level!
FAQs
What is a glitch effect?
A glitch effect is a visual distortion that simulates digital errors, such as pixelation, color shifts, or static, often used to create a futuristic or chaotic aesthetic.
Can I create glitch effects without using the Fusion page?
Yes, you can apply glitch effect templates or plugins directly in the Edit page, making them accessible for beginners.
Are there free resources for glitch effects in DaVinci Resolve?
Absolutely! Free templates are available on platforms like Motion Array, and plugins like Super Glitch offer advanced effects at no cost.
How can I make my glitch effect more realistic?
Use subtle animations, keyframe changes, and context-appropriate settings to ensure the glitch complements your footage’s style and narrative.
Can I use glitch effects on text or titles?
Yes, many templates, such as Glitch Titles, are designed specifically for text, adding dynamic effects to titles and overlays.
Key Citations
- How to Make a Glitch Effect in DaVinci Resolve
- Glitch Titles – DaVinci Resolve Templates | Motion Array
- Glitch Effect for DaVinci Resolve | Download Template
- SuperGlitch – FREE DaVinci Resolve Plugin
- 821 DaVinci Resolve Glitch Templates – Envato